background

May 14, 2011

Another quick meal...

I know I just posted a recipe, so for those of you that hate to cook-forgive me. But since I was already posting the previous one, I had it on the brain. I do many versions of simple stir-fry at home. This was the one we ate tonight.

Beef Stir Fry

 That was the only picture I took, the one with the ingredients. But this is more of a method suggestion, to be honest. :)

Ingredients:
1 small package (look for something about $3 at Publix and go with it) stir fry meat, usually already sliced into thin strips-it might say "for fajitas" on it
Whatever veggies you have left in the fridge, or:
2-3 stalks celery
3-4 carrots
1 or 1.5 cups snow peas
1 bunch of asparagus
1 green bell pepper (I would've used red if I had one)
broccoli florets
1/2 large yellow onion
ginger (I use fresh when I have it, otherwise pull some out of the spice cabinet)
2-3 cloves garlic (again-fresh or spice cabinet)
vegetable oil
soy sauce
salt and pepper


Begin by heating enough vegetable oil to lightly coat a large preheated skillet. Season the meat with salt, pepper, and a little garlic and ginger. (Even when I'm using the fresh ginger and garlic in the dish, I usually season the meat with the powder stuff in the spice cabinet.) Add the meat to the skillet and cook at medium-high heat, turning once to brown the other side. Remove from skillet and set aside. 
Add veggies to the skillet (feel free to add more oil if you think you need it, just don't go overboard) and allow them to saute until they begin to get tender. I usually add the firmer veggies first, then slowly add the ones that don't take as long to cook. Meanwhile, peel the ginger with a vegetable peeler, or even a tablespoon. Grate it with a microplane or small side of a box grater. You can do the same to the cloves of garlic, or just mince them. Toss these seasonings with the veggies and allow them to cook for a minute or two. Then add a little soy sauce around the pan and cover, cooking for an additional minute. Toss the meat back in and stir. If you prefer your veggies more on the soft side, add a splash of beef broth and return the lid back to the pan and allow it all to steam together. Serve over rice, if you like. We have become rather fond of Brown Jasmine Rice that we get from Trader Joe's. I cook it in beef or chicken broth. Yummy! Enjoy!


-Ashley

May 13, 2011

Swappin' Suppers

A friend of mine is pregnant, and has a current aversion to all things meat. This got my wheels turning back to the time when I too, felt the same passionate hatred for chicken, etc. One pregnancy I could only eat chicken, another no meat at all. Funny how those things happen. Anyway, in this sequence of random thoughts, I remembered a pasta dish I made and told her about it. So since I am typing out the recipe anyway, I thought I'd share it here on the blog. Of course, it actually does contain chicken, but for anyone with a current gag reflex at the mere thought, omit whatever makes ya green. I'm not in the baby growin' phase around here, so bring it on.

Chicken and Spring Vegetables Pasta tossed in a Light Lemon Sauce

ingredients:
No, the honey isn't part of the recipe. Just where my hubby left it from his oats this morning and I forgot to remove it from the picture.

2 boneless skinless chicken breasts
1 yellow onion
3-4 carrots
2 medium sized zucchini
3-5 yellow squash 
1/2 head of broccoli, cut in to florets
1 1/2 cups green peas
2 lemons 
Grill Seasoning
Salt, Pepper, Extra Virgin Olive Oil
Chicken broth
Pasta (I use 1 box, any shape)
WARNING: I tried to be as precise as possible, but I'm more of a method cook rather than a recipe cook. Like your grandmother-a little of this and a pinch of that.


Start by cutting the chicken into cutlets. You can waste money buy them already cut this way, but I prefer to buy in bulk at Costco so for those of you on board with me, here's how I do it:


Forgive the handless demonstration. :) I was flying solo in the kitchen, and hey, I never claimed to be Rachael Ray. Anyway, I slice the chicken into about 3 pieces per breast, trying to keep all the pieces about the same thickness. Doesn't always work, but I'm okay with that. If I find one piece to be extremely thicker than the rest, I will pound it out between wax paper with a meat mallet or a heavy skillet. Sometimes I do that anyway with all the pieces. On this night, notsomuch. 


Next, I season the chicken with Grill Seasoning. Use whatever brand you like, I'm a McCormick girl myself:                                          
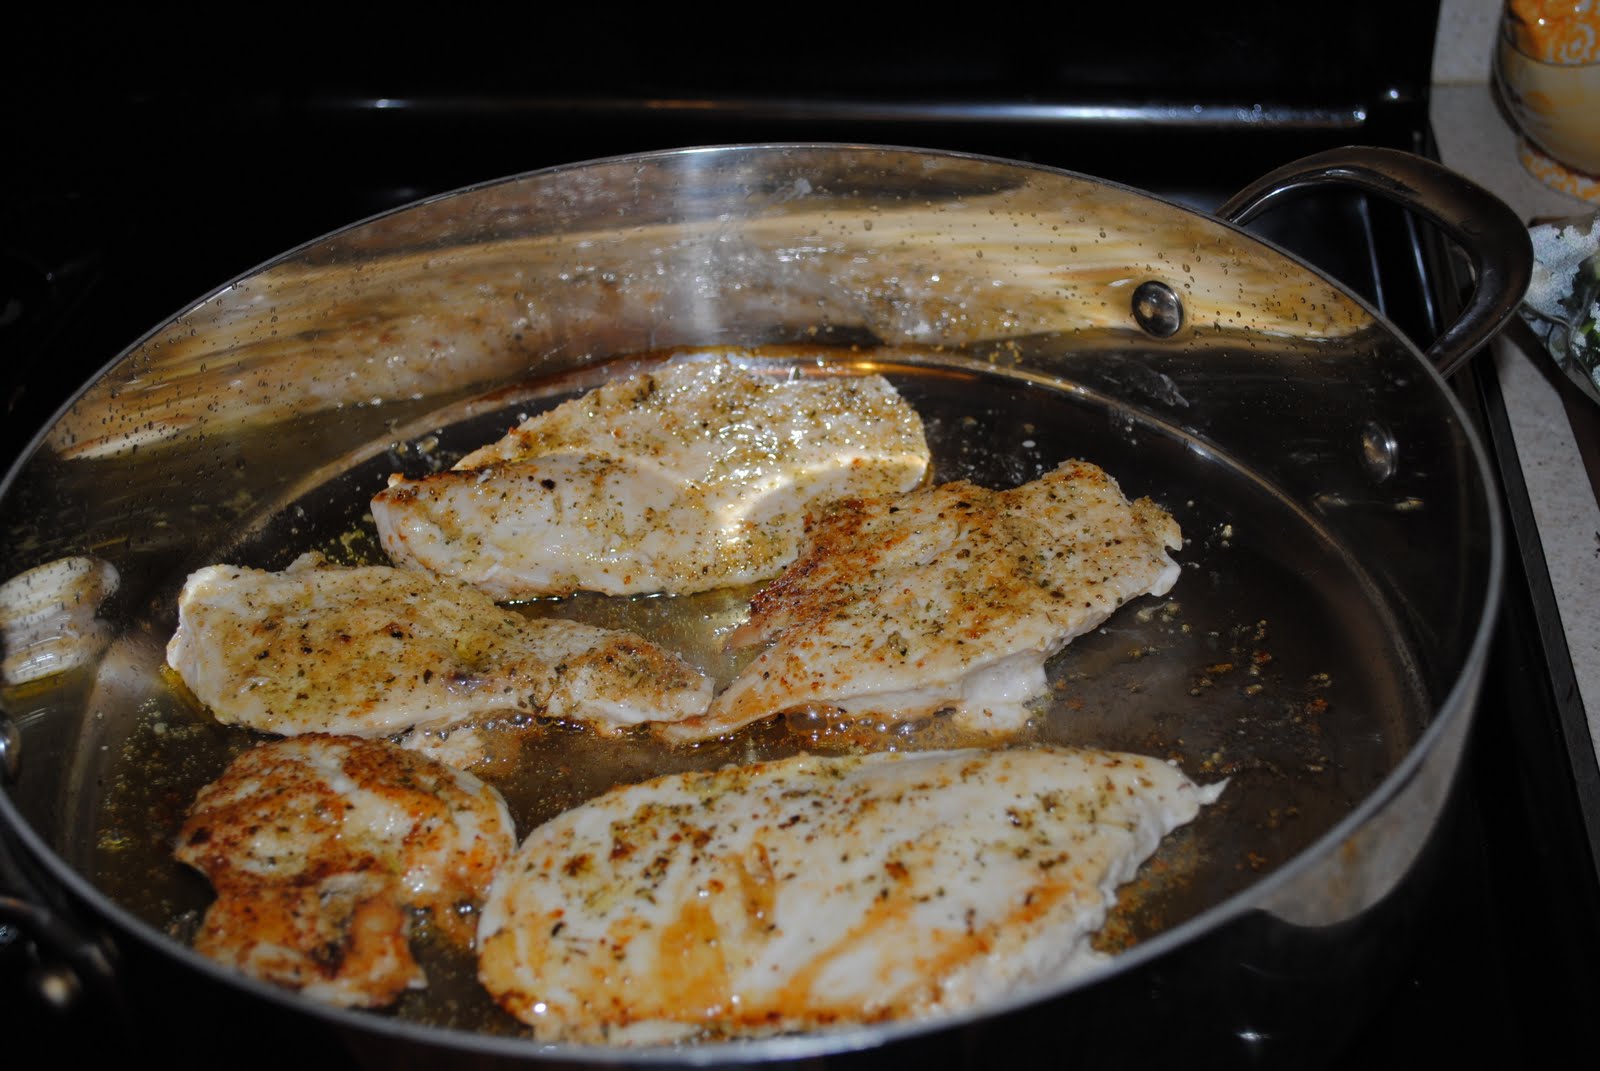
I then transfer the chicken to a preheated skillet coated with EVOO (extra virgin olive oil-I know ya'll watch Rachael.)
  Let the chicken cook until golden brown on both sides and the juices run clear. Then transfer to a plate and cover in foil.
While the chicken is still in the skillet, I usually chop or finish chopping my veggies.  This particular night I was on the ball and actually had most of them already chopped (which is why I had time to take a million pics before dinner was ready!) so I didn't have much prep. I did, however take that time to zest my lemons and then juice them. Whenever you prep (even the day before is fine) keep your "hard veggies" separate from the softer ones. I usually start with the carrots and onions, since they take a few extra minutes to get tender.(I didn't know the skillet looked so burnt already in this picture. Oh well.)
 Once those have started working a few minutes I add everything else to the skillet. (If you are including quick-to-soften items like the green peas, don't put them in just yet.)


Let the veggies saute for a minute or two and then add the chicken broth to the pan. This will usually give you one big sizzle-don't worry! Just rub a wooden spoon along the bottom under those veggies. It will loosen up those bits of flavor-yum! This is also a good time to throw in the zest and any other seasoning you want to flavor the dish with. I use salt and pepper, and sometimes a little garlic. Meanwhile, throw the pasta in some boiling, salted water. Add the peas (if you are using them) for the last minute or so of boiling. Remember not to overcook your pasta, you want it to still have a "bite" to it.         

 Drain the pasta and peas, then add them to the skillet with the veggies. TURN OFF THE HEAT. (This will keep the lemon juice from cooking and tasting bitter.)Pour the lemon juice over the pasta/veggie mixture.
 Remove the foil from your plate of reserved chicken and cut it into bite sized pieces. Toss it in the pasta and veggie mixture. 
  Toss once more to fully incorporate everything, then serve. I top mine with some freshly grated parmesan cheese. Or, in a pinch (like this occasion) I use the already grated stuff. ;)


Of course, if you didn't already know this about me, I rarely make the same recipe twice. I just don't like to follow directions very well, so I usually wind up experimenting or just using what I have on hand when a craving strikes. This particular day was the first time I included broccoli, and I usually make this dish with mini-farfalle pasta (tiny bowties!). Oh, and I have been known to make this a slightly thicker sauce by using a little a/p flour and butter. But this was a pretty guilt-free version. I hope you enjoy!

-Ashley


May 3, 2011

Revealing the "After"

Glad you made it back! After a crazy morning I was beginning to wonder if I was going to make it back myself! Here are a few less than perfect after shots. Anytime I tackle a major undertaking, like painting a whole room, my house suffers. The laundry piles up, dishes pile in the sink, clutter accumulates. If you find a way to miraculously keep this from happening, let me know. I'm all in. For now, here's the view of the room today:


I have never promised to be an excellent photographer. I have a fairly new camera, but between the move and chaos of life have yet to learn much about the different settings. The color in all my pictures is a little off from the true appearance in person. I used Behr's Premium Plus Ultra (paint and primer in one) in Mountain Elk in eggshell sheen. I'm typically a satin sheen girl and will most likely return to it after this project. But that's another post.....Back to the room at hand. It doesn't look so green in real life. Guess you'll have to take my word for it. Anything is better than Navajo orange, right? If you missed the before pictures, click here to see my previous post.
Here's one more shot of the after:


There are still several decorating-in-progress areas in this room. The mantle is incomplete, and the chair is a goodwill find that I am waiting to slipcover. I could bore you with all the details of what I would change today if I had a magic wand, but instead-will you join me for the ride? I'm going to take it one step at a time. It is my goal to add finishing touches (or beginning touches in some cases) to every area of our home. But the catch is, we're on a budget and a tight one at that. Most of what you will find here will be free or extremely cheap, and will be on its way to a makeover, or just finishing one! (Or in the midst of chaos you might see a few things midstream! Just being honest...)

I find many blogs that inspire me to decorate, thrift, be a better mom, save money, prepare meals, etc. But I also can become intimidated by many that seem to always have a perfectly kept house with all the details complete. I am more thankful for the honest ones that let you in on their imperfections. You can count on me to be that girl! If for no other reason, at least because I have so MANY imperfections. If I waited until my house was perfect to write about it, that day might never come. I hope that through my honest and transparent approach, I might inspire you to do more of the same in your home.


-Ashley

May 2, 2011

A Few Before Shots...

Well, let's just get right down to it. The dreaded "Navajo Orange".
Disclaimer: These were taken a few days before we closed on the house, therefore we had not replaced the previously mentioned 5 trillion dead light bulbs. Please excuse the photo quality.


Above: That's my hubby looking out the window, and my youngest daughter dancing in front of the fireplace. This is the view from the master bedroom looking into the living room area.


Above: Another view in the living room-noting again the dreadful Navajo orange. Get my point? Ick. Here's one more...


Took that last one just to savor the thought of hiring someone to paint that tall peak. But....that someone ended up being me. Which, of course, is why it took me so. many. weeks. to complete the task. Oh well.

So all in all, it could be a nice color, right? I mean if you imagine it on the walls of a Southwest cafe somewhere other than my house. I'm even pretty adventurous with color. I have done some interesting things with paint in my former house, not all of which we will name successful. But stark, builder white against this orange? Just doesn't work. They should've at least warmed it up with a good neutral on the other walls.
Aside from the very strong opinion I have regarding the color choice, I was also contending with the unfathomably high ceilings and less than perfect paint job. There are STILL spots along the edge that I can see the orange...But I'm not quite ready to paint the entire ceiling so for now, it's being called "DONE". Stay tuned for the after photos... I promise they are at least somewhat of an improvement!
-Ashley

Let's Start at the Beginning...

Since this is a new blog, I thought it would make perfect sense to start at the beginning for those of you that don't know me. (And even those of you who do-there might be a few gaps!)

We've been in our house in Georgia now since November 2010. I feel very blessed to have found the house that we're in, and especially its location regarding schools and things to do. I'm even more grateful though, that we managed to score it at an excellent price to fit our current budget. With that said, there are many things that I can't stand hope to change as soon as possible. I just recently finished painting our living room. I plan to post before and after pictures of that soon to let you all in on the nightmare I have named "Navajo Orange". Overall our house was move in ready when we purchased it. The carpet had been installed 2 or 3 days before we did our initial walk-through. We had to buy a refrigerator and replace approximately a gazillion lightbulbs, but other than that we really had no expense prior to our stuff being delivered by the movers. (Now that's not to say we didn't find things that needed repair after we got settled...but that's a whole 'nother post!) SO all together I have a lot to be thankful for and I am, but at the risk of sounding like a spoiled little ungrateful brat, there are things around here that do drive me batty. This blog is an attempt to vent my frustrations share the journey with you as I conquer these items, on a budget, along with raising 3 sweet girls, keeping up with my hubby's crazy schedule, maintaining a somewhat clean house, preparing meals....(you get the picture, right?) all done with a huge grin pasted on my face. Yeah. Right. But it sounded good anyway.

I hope to share a few thrifty ideas I've learned, many from other blogs I've become addicted to, as well as recipes, my thoughts regarding my faith and its application in my life, and possibly a little parenting confession. I'd appreciate your thoughts and comments on the decorating, etc. and the attempt to make our house into HOME. I'm sure we all stand to gain inspiration from each other, don't you think?

-Ashley